Have you ever slipped on a beloved necklace only to find the string has frayed or snapped? That sinking feeling when a cherished piece of jewelry breaks can be heartbreaking. I remember the first time it happened to me — I was devastated, clutching my favorite pendant, wondering if it was truly the end of its sparkle. That moment made me realize something important: jewelry isn’t just adornment; it’s a symbol of confidence and memories, and when it falters, so does our self-assurance.
Why Proper Jewelry Restringing and Repair Matter More Than Ever
In today’s fast-paced world, we wear jewelry not just for style but as a reflection of our personality and milestones. But over time, even the most durable pieces can show signs of wear — strings weaken, clasps loosen, and settings become unstable. If neglected, these issues can lead to irreversible damage, costing you more in replacements or extensive repairs. That’s why mastering the art of restringing & jewelry repair isn’t just a luxury; it’s a necessity for maintaining your jewelry’s value and your confidence.
Is Jewelry Repair Truly Worth the Investment?
I admit, early in my journey, I hesitated to invest in professional repairs. I thought, “Can’t I just do this myself?” That mistake nearly cost me a favorite bracelet, which I tried to restring without proper tools or knowledge. The result? A frayed thread and a ruined piece. Trusted expert service taught me that professional repair is an art — one that preserves the integrity, value, and beauty of your jewelry. It’s not just about fixing; it’s about restoring trust in your pieces, ensuring they last for generations.
Are you facing a similar dilemma? Do you worry whether your jewelry can be saved or if repair costs outweigh the benefits? Rest assured, with the right techniques and expert help, you can revive your jewelry’s sparkle and your confidence.
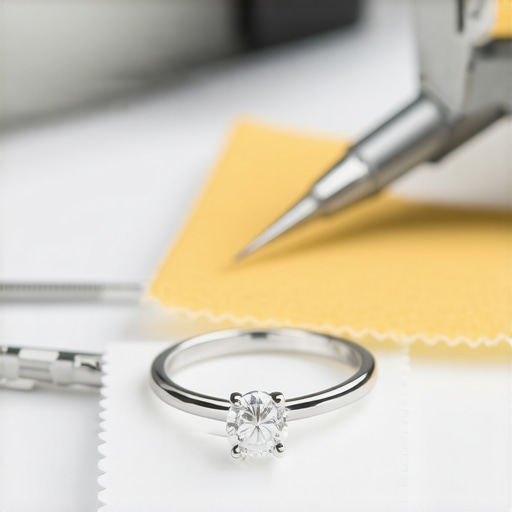
Assess Your Jewelry Carefully
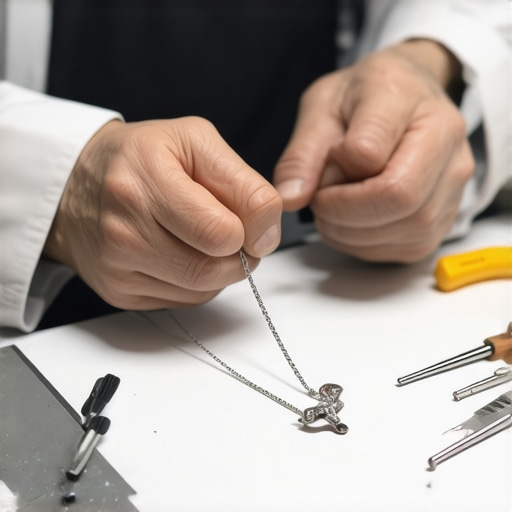
Start with a thorough inspection of your piece. Look for frayed threads, loose clasps, or damaged settings. Use a magnifying glass if needed. Remember, identifying the exact issue is crucial before attempting any repair. For example, I once examined a pearl necklace that looked fine from afar but had a weak knot between each pearl. Spotting this early saved me from a complete restringing failure later.
Gather the Right Tools and Materials
Use high-quality jewelry wire, durable threading like silk or nylon, and appropriate clasps. For restringing, a beading needle can help pass thread through tiny holes. Think of it like preparing your toolkit before a house renovation—having everything ready makes the process smoother. I once tried restringing a bracelet with mismatched thread, leading to frustration and a poor finish. Proper tools and materials are your best allies.
Remove the Old Thread Carefully
Cut the damaged thread with precision, avoiding damage to beads or settings. Use small, sharp scissors and work slowly. When I did this on my vintage charm bracelet, I found that patience prevented accidental bead loss or damage. If needed, take photos at each step to keep track of the original arrangement, ensuring a seamless restoration.
Restring the Jewelry Securely
Thread the beads or charms onto new wire or thread, starting from one end. Use a beading needle if necessary. Tie secure knots or crimp beads for added stability. Imagine it like sewing a durable fabric—tight, consistent tension ensures longevity. During my first restringing attempt, I left loose knots, which caused the string to fray again quickly. Tightening and double-knotting are key to lasting results.
Ensure Proper Tension and Alignment
Test the tension as you go. The string should be taut but not stretched to the point of stress. Proper alignment prevents beads from shifting and maintains a polished look. I once misjudged tension on a pearl necklace, leading to a saggy appearance. Regularly tug gently to check tension and adjust as needed.
Secure the Ends Firmly
Finish with strong knots or crimp beads. Use a jewelry plier to flatten crimp beads for a clean look. For added confidence, apply a drop of jewelry glue on knots. I learned this trick when a necklace I restringing kept slipping apart—glue sealed the deal and extended its life. Always double-check the security before the final clasp attachment.
Attach or Replace the Clasp
If the clasp is damaged, replace it with a matching or more durable one. Use jewelry pliers to open and close jump rings, ensuring a tight fit. Think of this step as upgrading the hardware on a door—stronger fittings provide peace of mind. I once replaced a broken lobster clasp, which instantly improved the piece’s reliability and appearance.
Final Inspection and Cleaning
Inspect the finished piece for any loose beads or weak spots. Clean with a soft cloth to restore shine. Proper cleaning not only enhances appearance but also reveals any hidden issues. After my first repair, I cleaned the jewelry using a gentle polishing cloth, which made it look almost brand new and boosted my confidence in the repair.
Many people believe that jewelry repair is a straightforward process, but in reality, there are several nuanced pitfalls that can compromise the integrity and longevity of your cherished pieces. Let’s dig deeper into the most common misconceptions and advanced mistakes that even seasoned enthusiasts often overlook.
Myth: All Jewelry Repairs Are Equal
One widespread myth is that any jewelry repair shop can handle your piece just as well as a specialized expert. This couldn’t be further from the truth. The complexity of materials, settings, and designs requires a nuanced understanding that only trained jewelers possess. For example, repairing a delicate vintage piece or intricate gemstone setting demands advanced skills and the right tools, such as precision soldering and micro-engraving. Relying on generic repairs can lead to damage or loss of value. To ensure your jewelry is in capable hands, always seek a trusted professional repair service.
The Oops Factor: Overlooking Material Compatibility
One common mistake is ignoring the material compatibility between different components. For instance, using a steel clasp on a platinum necklace or mismatched metals can cause corrosion, weakening, or aesthetic inconsistency over time. Advanced jewelers consider these nuances, choosing appropriate soldering alloys and threading materials that match the original composition. This prevents issues like galvanic corrosion, which experts warn can deteriorate jewelry faster. If you’re unsure about the right materials for your repair, consult a specialist or expert advice.
What about the Hidden Nuance in Knot Tension and Alignment?
Many assume that simply tying knots tightly is sufficient for restringing or repairing jewelry. However, improper tension can lead to beads shifting or fraying the thread prematurely. Advanced techniques involve calculating optimal tension to ensure durability while maintaining a natural drape. For example, in restringing pearl necklaces, the knots should be tight enough to prevent beads from rubbing, yet loose enough to avoid stress on the string. This subtlety can significantly extend the lifespan of your jewelry and is often overlooked by amateurs. To master this, consider exploring detailed guides or consulting a professional repair expert.
External Citation: The Science Behind Metal Compatibility
According to a study in the Journal of Materials Science, mismatched metals in jewelry can accelerate corrosion due to electrochemical reactions, especially in humid environments. This highlights the importance of material compatibility and professional expertise in repairs. Proper selection of solder and threading materials not only preserves aesthetics but also prevents long-term damage.
Have you ever fallen into this trap? Let me know in the comments. Remember, choosing the right repair approach is essential for maintaining your jewelry’s beauty, value, and sentimental worth.
Maintaining the longevity of your jewelry requires not only skill but also the right tools that ensure precision and durability. As a passionate jewelry repair enthusiast, I’ve found that investing in high-quality equipment makes a significant difference in the outcome of each project. Let’s explore the essential tools I recommend for keeping your jewelry in top condition over the years.
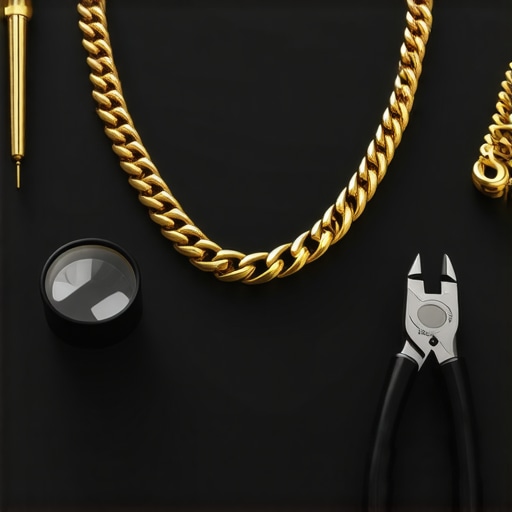
Precision Pliers for Secure Fastening
One of my go-to tools is a set of fine-tipped, anti-magnetic jewelry pliers. These allow for accurate opening, closing, and crimping of jump rings and clasps. I personally prefer a pair with cushioned grips to prevent slipping and reduce hand fatigue during detailed work. These pliers help me secure every clasp and closure, ensuring they withstand daily wear and tear. For added stability, I double-check each connection with gentle tugging, mimicking the stresses your jewelry will face over time.
Micro-Engraving and Soldering Equipment
For advanced repairs, a micro-engraving tool is invaluable. I use it to refine solder joints and clean up tiny settings without damaging surrounding gemstones. Additionally, a professional-grade soldering iron with temperature control allows me to rejoin broken links or mend delicate components with precision. These tools are essential for repairs that require a seamless finish, which significantly extends the life of your pieces.
Jewelry Cleaning and Inspection Systems
Before and after repairs, I always use a magnification system—like a jewelry microscope or a high-powered jeweler’s loupe—to inspect every detail. Paired with ultrasonic cleaners, these systems remove dirt and oils, revealing hidden issues and ensuring my repairs are spotless. Regular cleaning also prevents buildup that can cause premature wear or corrosion, maintaining your jewelry’s beauty over the long term.
Why Regular Maintenance and Professional Checks Matter
Even with top-tier tools, routine maintenance is crucial. I recommend scheduling regular professional inspections, especially for valuable or sentimental pieces. A trusted jeweler can identify weak spots and perform necessary repairs before minor issues escalate. While DIY repairs are satisfying, a professional touch guarantees your jewelry’s structural integrity and aesthetic appeal.
How do I maintain jewelry over time?
Consistent cleaning, gentle handling, and periodic professional check-ups are key. Using the right tools for minor repairs at home can save money and extend the lifespan of your jewelry. For complex issues like re-stringing or gemstone setting, trusting a specialist ensures the best results. Remember, investing in quality tools and expert advice now can save you from costly replacements later.
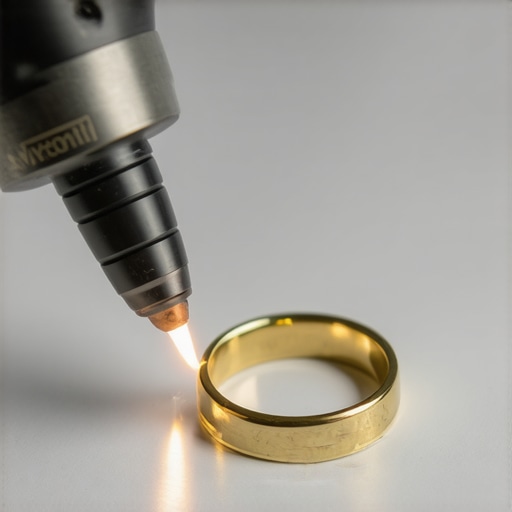
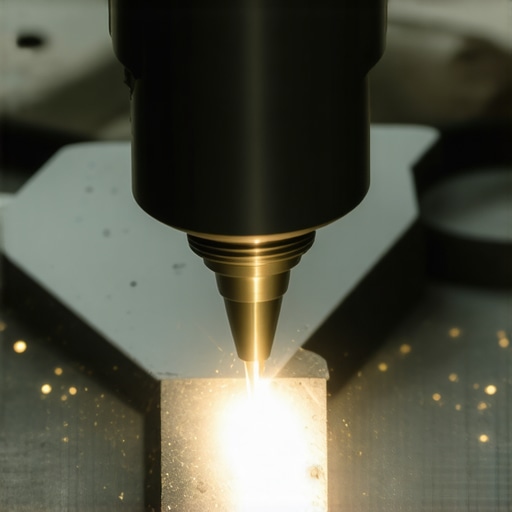
Looking ahead, I believe that technological advancements like laser soldering and 3D printing will revolutionize jewelry repairs, making them faster and more precise. Staying updated with these innovations can help you maintain and scale your jewelry care routine effectively. To explore expert techniques and tools further, I recommend reviewing trusted resources such as professional repair guides.
The Hardest Lesson I Learned About Jewelry Repair
One of the most valuable lessons I discovered was that patience is truly a virtue when it comes to restoring jewelry. Rushing through a repair often leads to mistakes or damage that could have been avoided with a steady hand and a calm mind. This insight taught me to take my time, carefully inspecting each piece and planning my approach before starting.
3 Myths About Jewelry Restringing That Held Me Back
I used to believe that restringing was a simple task anyone could do at home. However, I learned the hard way that without proper tools and knowledge, you risk damaging your jewelry or making repairs that don’t last. Trusting professional experts ensures your cherished pieces are in capable hands.
What Experts Won’t Tell You About Material Compatibility
A lightbulb moment for me was understanding the importance of matching materials correctly. Using mismatched metals or threads can cause corrosion or weaken the overall structure. It’s a subtle detail that significantly impacts the longevity of your jewelry, and consulting with specialists can save you from costly mistakes.
The Subtle Art of Tension and Alignment in Restringing
One overlooked aspect is applying the correct tension during restringing. Too loose, and beads may shift; too tight, and the string may fray or break. Mastering this balance is key, and learning from experienced jewelers can help you avoid common pitfalls and extend your jewelry’s lifespan.
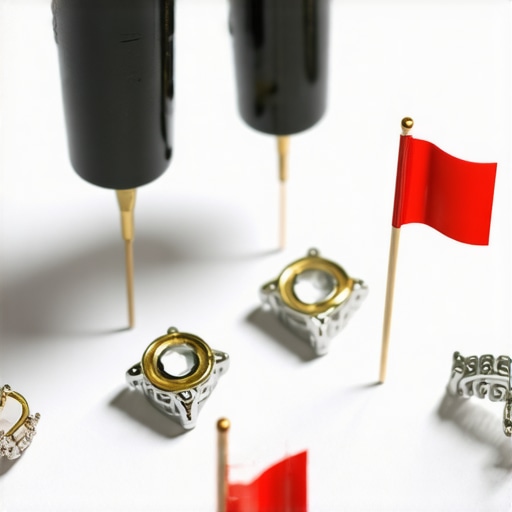

![5 Hidden Signs Your Ring Prongs Are Failing [2026 Checklist]](https://jewelryfixpro.com/wp-content/uploads/2026/02/5-Hidden-Signs-Your-Ring-Prongs-Are-Failing-2026-Checklist.jpeg)
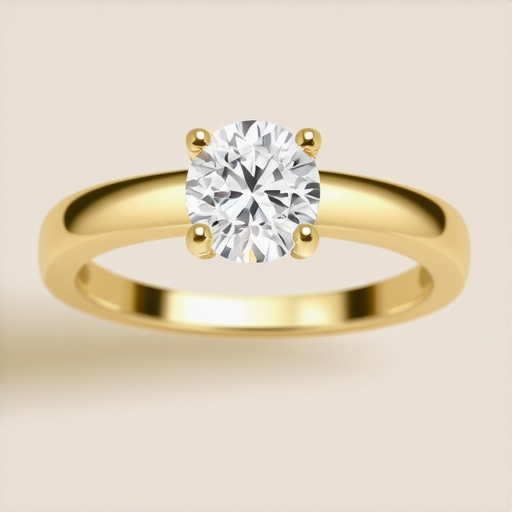
![3 Subtle Signs Your Diamond Is About to Fall Out [2026]](https://jewelryfixpro.com/wp-content/uploads/2026/02/3-Subtle-Signs-Your-Diamond-Is-About-to-Fall-Out-2026.jpeg)
Reading this detailed guide really resonated with me, especially the parts about the importance of using the right tools and materials when restringing jewelry. I remember attempting a DIY restringing project with some mismatched thread and a clasp that was a bit too loose, which resulted in a fast wear-and-tear cycle. Since then, I’ve learned that patience and proper techniques are crucial for ensuring the longevity of our jewelry. I particularly appreciate the point about tension control—finding that perfect balance prevents beads from shifting while avoiding stress on the string. Has anyone experimented with different threading materials for durability or aesthetic appeal? It would be interesting to hear what has worked best for others, especially on more delicate or vintage pieces.