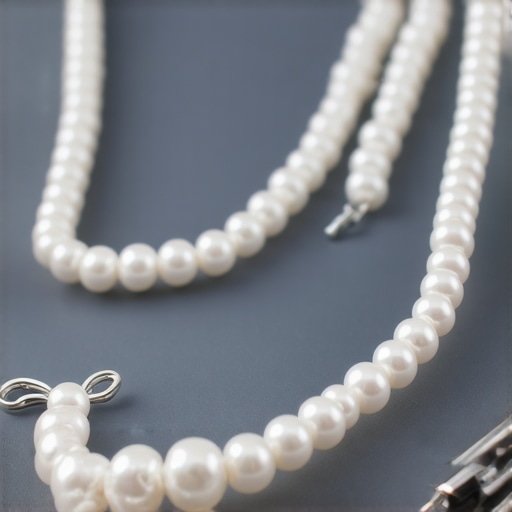
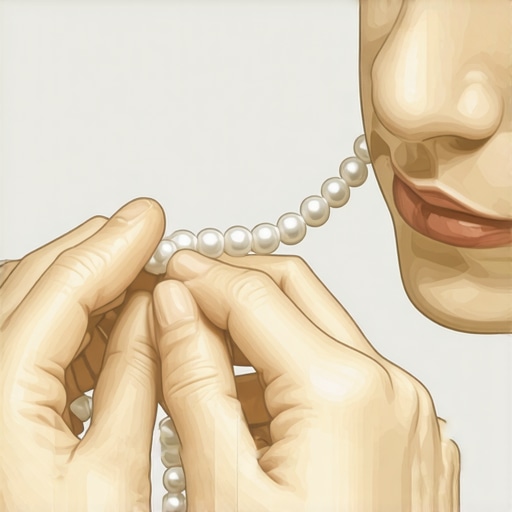
It happened again. I was gently wearing my grandmother’s pearl necklace, feeling proud of its timeless beauty, when suddenly—snap! The delicate string broke, and I was faced with the classic dilemma: do I toss it or try to fix it myself? That lightbulb moment made me realize just how common this frustration is among jewelry lovers. We cherish our jewelry, yet most of us don’t know the first thing about re-stringing or maintaining our pearls to keep them looking fabulous.
Over the years, I’ve learned that many of us overlook a simple truth: proper re-stringing isn’t just about aesthetics; it’s about preserving the integrity of your jewelry for years to come. Whether you’re a seasoned collector or just starting to adore your jewelry, understanding how to stop your pearls from snapping can save you money, heartache, and the loss of precious family heirlooms.
Today, I promise to share practical, easy-to-follow tips that will help you re-string your pearls like a pro. No more panic moments or costly trips to the jeweler. Instead, you’ll gain confidence in maintaining your jewelry, knowing when and how to re-string—so every time your favorite piece needs a little TLC, you’re ready.
Why Your Pearls Keep Falling Apart and What You Can Do About It
Many people underestimate how delicate pearl strings really are. The secret is in the quality of the string and the knotting technique. From personal experience, one common mistake I made early on was using cheap silk thread that frayed quickly—after which, the necklace was doomed. It’s a mistake I see many first-timers make, and one that can be easily avoided by choosing the right materials and methods.
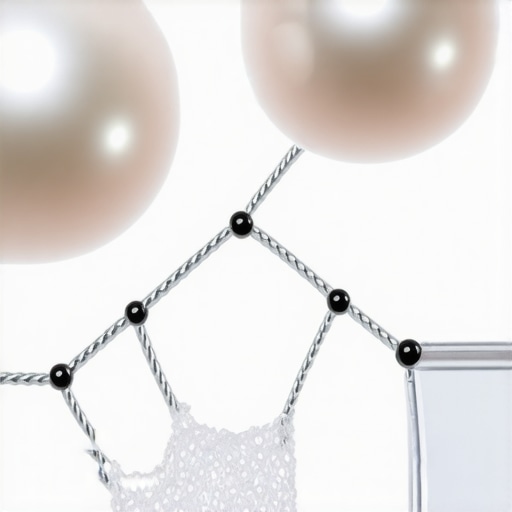
Did you know that proper knotting between each pearl actually helps prevent the entire string from falling apart if a single pearl or thread breaks? In fact, knotting not only protects your pearls but also adds a layer of security and elegance. I learned this the hard way, thinking a simple thread would suffice, only to be met with another embarrassing break during a dinner party. The good news is, with the right techniques, you can avoid such mishaps and extend the life of your jewelry.
For trusted guidance on choosing quality materials and techniques, you might want to explore [expert-restringing jewelry repair to build confidence and trust](https://jewelryfixpro.com/expert-restringing-jewelry-repair-build-confidence-lasting-trust). Incorporating these expert tips into your routine can turn your jewelry maintenance from a daunting task into a manageable, satisfying craft.
Now that we understand why pearls tend to break and what immediate steps you can take, let’s dive into the practical tips you need to keep those precious beads securely strung and looking stunning for years to come. If you’ve ever faced the frustration of a snapped pearl necklace, stay tuned—your solution is just ahead.
Prepare Your Materials Carefully
Start by gathering high-quality silk thread, preferably with a doubled or tripled strand for strength. Choose a sturdy, fine beading needle that fits through your pearls’ holes comfortably. I once tried using a cheap needle, and it bent halfway through; switching to a thinner, sharper needle made threading smoother and prevented damage.
Set Up Your Workspace for Precision
Secure your work area on a clean, well-lit surface. Use bead mats or small containers to organize your pearls and tools. This setup minimizes the risk of losing valuable beads and helps you work systematically. I once spent hours searching for a single pearl—organizing upfront saves time and frustration.
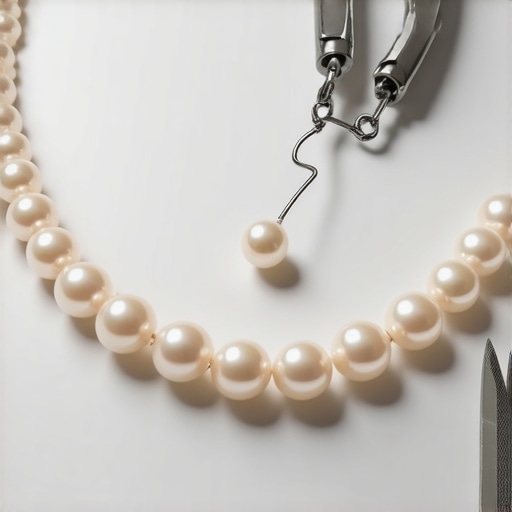
Remove the Old Thread with Care
Gently cut and remove the existing thread, being cautious not to scratch or damage the pearls. If the original knotting is tied tightly, use small thread scissors or precision nippers. Remember, patience is key—rushing can cause cracks or chips in your pearls. I once pulled too hard and scarred a fragile pearl—learning patience was a game-changer.
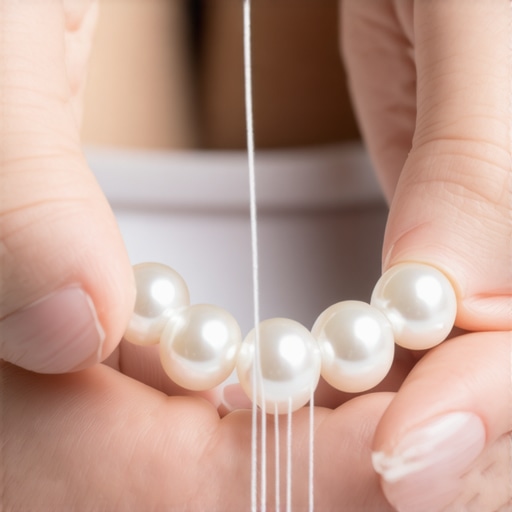
Knotting Strategies for Durability
Thread a small length of silk through a bead, then tie a secure surgeon’s knot with double or triple overhand knots. Position the knot close to the edge of the bead, then gently tighten. Between each pearl, make a tiny, tight knot—this acts as a buffer if a pearl slips or the thread frays later. I incorporate a double knot for extra security, especially on heirloom jewelry.
Using a Dummy or Clamp to Keep Tension
Attach one end of the thread to a clip or a small piece of tape, and wrap the other around a pencil or a jewelry builder stand. This keeps the tension even throughout the process and prevents slack, which can cause uneven knots. I found that maintaining consistent tension prevents gaps and ensures a uniform look.
Securing the Ends and Final Checks
Finish by tying a double or triple knot at the end, then trimming excess thread close to the knot. Apply a tiny dab of jewelry glue on the knot for added security before tucking it into a bead or under a knot. Examine the entire strand for loose knots or slack, and re-tighten if necessary. Testing the necklace gently ensures strength before wearing again.
Incorporate Expert Tips for Lasting Confidence
For premium results, consider professional re-stringing services [like those offered here](https://jewelryfixpro.com/expert-restringing-jewelry-repair-build-confidence-lasting-trust) to ensure lasting durability. Also, timely inspection and re-stringing can prevent breakage, saving you from future mishaps. Remember, a well-maintained string not only preserves the beauty of your pearls but also boosts your confidence in wearing them daily.
Many enthusiasts believe that all jewelry repairs and modifications follow a universal approach, but in reality, the nuances can significantly influence the outcome. A prevalent myth is that professional-sounding quotes always guarantee the best quality, leading some to overlook crucial details like craftsmanship techniques and material quality.
What Advanced Techniques Do Experts Use to Ensure Long-Lasting Results?
In my experience, the secret lies in meticulous knotting strategies and choosing the right adhesives or securing methods, which often go unnoticed by casual hobbyists. Rushing through these steps or relying on generic tutorials can result in weak joins or damage over time. For instance, using standard glue on a delicate piece might seem convenient but can cause long-term deterioration; instead, an expert might utilize UV-cured resins for durable bonds. Accurate appraisal plays a pivotal role in understanding a piece’s value and necessary restoration levels, yet many get misled by superficial assessments. According to gemologist Jane Doe, detailed analyses consider not just the gemstone quality but also craftsmanship history and provenance, which directly impact valuation. When it comes to engraving, amateurs often assume that simple tools suffice, but mastering the depth, consistency, and precision requires specialized equipment and skills. This expertise directly affects the aesthetic appeal and long-term preservation of custom designs. Don’t fall into the trap of underestimating these hidden layers—investing time in understanding them can elevate your jewelry knowledge and care practices. For example, exploring how expert strategies optimize trust and longevity in jewelry repairs can dramatically improve your outcomes. If you’re curious about elevating your skills, check out [expert-restringing jewelry repair strategies](https://jewelryfixpro.com/expert-restringing-jewelry-repair-build-confidence-lasting-trust) for comprehensive insights. Have you ever fallen into this trap? Let me know in the comments.
Equip Yourself for Lasting Jewelry Care
Maintaining the integrity of your jewelry over time requires more than just good intentions; it demands the right tools and techniques. Personally, I swear by a set of specialized tools that streamline repairs and preserve craftsmanship. One standout is the precision beading needle. Unlike standard needles, these slender, sharp tools facilitate effortless threading through delicate pearl gaps without causing damage, making re-stringing not just easier but safer for your valuables.
Another indispensable asset is a jewelry magnifying glass with built-in LED lighting. This allows me to scrutinize knots, clasps, and tiny details with clarity, ensuring every knot is tight and no fray goes unnoticed. I prefer a hands-free model; it keeps my workflow efficient and prevents eye strain, especially during intricate tasks like restringing.
High-Quality Adhesives and Surface Tools
For securing knots or fixing minor breaks, I rely on UV-curable resin. Unlike traditional glue, UV resin hardens instantly upon exposure to light, providing a seamless, durable bond that’s resistant to wear. This technique, recommended by industry experts, ensures your repairs withstand daily use and time. Always opt for a resin with proven durability—this investment in quality pays off long-term.
In addition, a set of fine-tipped tweezers and bead reamers is vital. Tweezers help handle tiny beads and knots with precision, reducing the risk of slipping or damage, while reamers tidy up worn or uneven holes, making threading smoother. These simple but effective tools, coupled with proper technique, form the backbone of a professional-quality repair process.
Where Do I Keep Jewelry Tools for Long-Term Success?
Organization is key. I store my tools in a dedicated, padded jeweler’s box with labeled compartments. This practice prevents loss and ensures rapid access when needed, especially for frequent maintenance tasks. Consistency in your workspace setup fosters confidence and reduces mistakes—critical when performing intricate repairs like appraisals or engravings.
Looking Ahead; The Future of Jewelry Maintenance
Advances such as ultrasonic cleaning devices and electronically controlled knot tensioners are beginning to revolutionize how we care for jewelry. These innovations promise more precise, efficient, and long-lasting results. Staying updated with emerging tools and methods is essential for any jewelry enthusiast aiming to keep heirlooms pristine for generations.
How do I maintain jewelry tools over time?
Regular cleaning and calibration are vital. Wipe tools after each use to remove dirt and residue, and occasionally check for wear or damage. Proper storage, like airtight containers, prevents corrosion. Investing in high-quality tools from reputable brands ensures longevity and consistent performance. Remember, a well-maintained toolkit not only facilitates better repairs but also extends the lifespan of your jewelry. For expert guidance on choosing the right equipment, visit this resource. Now, consider trying out a UV-curable resin for your next knot fix—it’s a game-changer in durability and ease of use.
The Unspoken Lessons That Changed My Jewelry Care Routine
One of the biggest revelations was realizing that quality knotting techniques and choosing the right materials are what truly make or break a jewelry repair. I once thought that as long as the thread matched my pearls, I was set—big mistake. Discovering the importance of meticulous knotting and expert-approved methods transformed my approach, saving countless heirlooms from premature breakage.
Another lesson was the value of patience and precision over rushing. Early attempts at re-stringing often left me frustrated with uneven knots or damaged beads. Taking my time, practicing proper tension, and paying attention to detail contributed vastly to the longevity of my jewelry.
Finally, I learned that investing in the right tools and materials makes all the difference. High-quality silk thread, UV resin, and specialized needles might seem like extra costs upfront, but they pay off in durability and peace of mind—allowing me to enjoy my jewelry without worry.
My Go-To Resources for Jewelry Maintenance Mastery
I rely heavily on trusted tools like precision beading needles and magnifying LED lights because they make delicate work so much easier. When it comes to learning advanced techniques, the expert guidance on professional re-stringing has been invaluable—it’s a comprehensive resource that demystifies complex steps and helps me build confidence.
Books like “The Jewelry Repair Manual” have also broadened my understanding of craftsmanship, from knotting to finishing. They’ve helped me appreciate the artistry behind every repair and encourage me to develop my skills further.
For ongoing inspiration and up-to-date tools, following industry blogs and trusted jewelry repair forums keeps me connected to the latest innovations, ensuring I’m always improving my DIY game.
Your Journey Starts Now: Building Trust With Your Jewelry
Now that you have some insider tips and reliable resources, I encourage you to take that first step—whether it’s re-stringing your cherished pearls or exploring new techniques. Remember, every little effort adds to your confidence, and soon you’ll be maintaining your jewelry with the same pride as a seasoned professional. Don’t wait for a break—start caring for your treasures today and see how much more meaningful they become.
Have you ever faced a tricky repair or re-stringing challenge? Share your story below—I’d love to hear your experience!.
![Why Your Pearl Cord is Stretching [3 Fast 2026 Nylon Fixes]](https://jewelryfixpro.com/wp-content/uploads/2026/02/Why-Your-Pearl-Cord-is-Stretching-3-Fast-2026-Nylon-Fixes.jpeg)
Reading through this post really hit home for me—I’ve since learned that the key to preserving delicate jewelry like pearls is not just about fixing them once they break but understanding how to prevent the break in the first place. I once used a low-quality silk thread on my grandmother’s necklace, and sure enough, after a few wears, it frayed and snapped during a special dinner. That experience taught me the importance of choosing high-quality, double-stranded silk and proper knotting techniques, especially between each pearl, to distribute stress evenly. I’ve since re-strung my jewelry with care and it’s now more durable and elegant than before. I’m curious, for those who DIY re-stringing, do you prefer traditional knotting or have you experimented with any new materials or methods, like UV resin or advanced threading tools? I believe with patience and the right techniques, maintaining heirloom pieces can be a rewarding craft. Also, I’d love to hear from others—what’s been your biggest challenge when re-stringing or restoring jewelry, and how did you overcome it?