
Ever wrestled with trying to bring intricate details to life on a tiny jewelry surface, only to end up with a muddled, uneven engraving that ruins the piece? I remember countless nights just staring at a half-finished design, thinking, “Is this really worth the effort?” It was a frustrating cycle—until I discovered the power of mastering specific deep-cut styles tailored for longevity. That ‘aha’ moment transformed the way I approach micro-engraving, making my work not just prettier but vastly more durable and meaningful.
The Art of Deep-Cut Micro-Engraving: Why It Matters More Than Ever
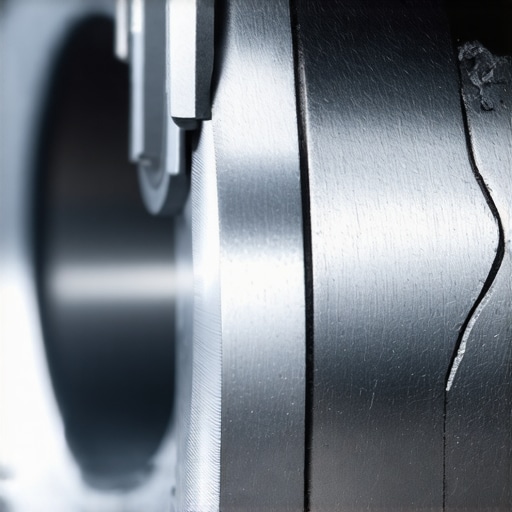
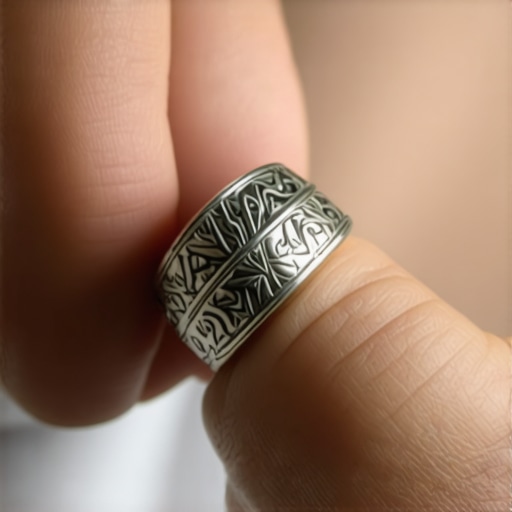
In 2026, the demand for jewelry that lasts and tells a story is higher than ever. Clients don’t just want beautiful pieces—they want craftsmanship that endures through generations. Well-executed deep-cut engravings add a layer of durability, ensuring your designs don’t fade or wear away over time. But here’s the catch: not all engraving styles are created equal. Some quickly lose their crispness, especially under everyday wear, while others stand the test of time. As someone who’s faced this challenge firsthand, I know how disheartening it can be to invest hours into a detailed design only to see it fade in months.
My personal mistake early on was relying solely on shallow etching techniques, assuming they would be enough for longevity. Turns out, I was missing the crucial element—depth. Deep-cut styles, when executed correctly, create engraved details that are far less susceptible to wear, scratches, and environmental factors. This realization opened up a whole new realm of possibilities, enabling me to craft jewelry that my clients could trust and cherish longer. If you’re serious about elevating your micro-engraving craft, understanding these deep-cut styles can make all the difference. Want to learn how to master them? Stay tuned. We’ll explore four styles that are predicted to dominate 2026 and beyond, ensuring your work remains stunning and enduring. But first—have you ever faced the dilemma of engravings fading faster than you expected? If so, you’re not alone, and there’s a way to turn that around.
Is All Deep-Carving Really Worth the Hype?
Early in my career, I made the mistake of diving into deep-cut engraving without grasping the necessary techniques. I was frustrated when details chipped or blurred over time. Trust me, rushing into deep carving without proper control is a recipe for disaster. Fortunately, I found resources like the ultimate guide to engraving that helped me understand the nuances. The key is precision and patience—cutting deeper doesn’t mean just pressing harder, but mastering the right tools and techniques to create clean, lasting lines. If you’ve ever wondered whether deep-cut styles are really worth the extra effort, I can tell you—they absolutely are, provided you learn the proper methods. Now, with that foundation, let’s explore the four deep-cut styles that will ensure your engravings stand tall in 2026.
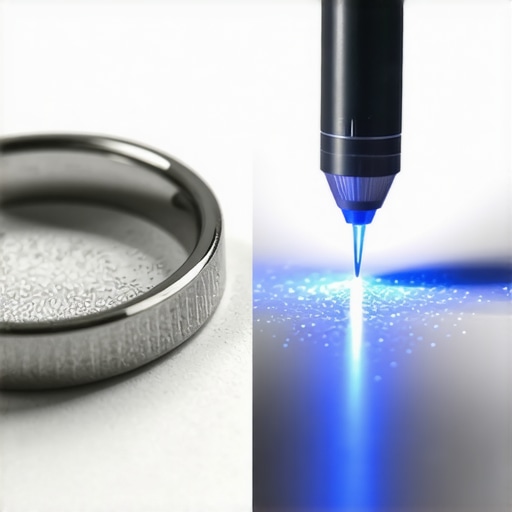
Set Up Your Tools for Precision
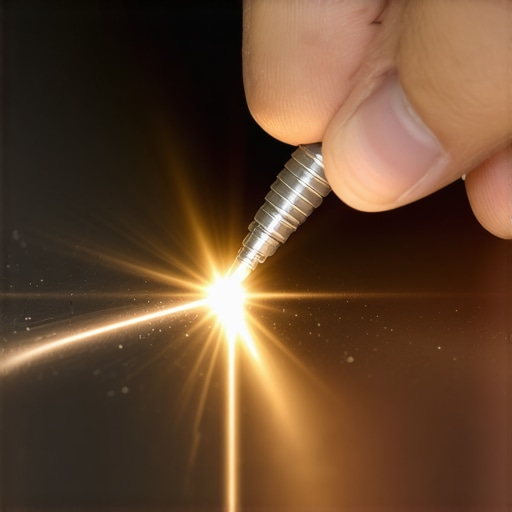
Before diving into deep-cut engraving, ensure your tools are sharpened and well-maintained. Use a high-quality bur or rotary tool with adjustable depth settings. I recall a time I overlooked this and ended up gouging the surface; since then, I always double-check tool calibration to maintain control. Think of your tool like a fine paintbrush—precision starts with its condition.
Plan Your Design and Practice on Scrap Material
Sketch your design first, considering the depth needed for longevity. Practice on inexpensive metal or scrap pieces, like I did when testing intricate patterns for a custom pendant. This helps you gauge the pressure and depth without risking the final piece. Remember, consistency is key—keep your strokes steady and deliberate.
Master Control and Technique for Deep Cuts
Use Controlled, Steady Pressure
Applying too much force can cause chipping or uneven lines. I once pressed too hard on an engagement ring, resulting in a jagged line. Instead, use light, controlled pressure, gradually increasing depth. Think of it like carving a pumpkin—slow and steady yields the best results.
Adjust Speed for Different Depths
Lower the tool’s RPM for deeper cuts, which helps prevent overheating and blunting the burr. I remember struggling with high speed, causing burnish marks; tuning down the RPM improved my control immensely. Practice adjusting your speed settings to match the desired depth and detail precision.
Maintain Workpiece and Ensure Consistency
Secure the jewelry firmly to prevent movement. Use clamps or a magnetic work platform. During a client project, I secured a delicate necklace with soft cloth padding to avoid accidental slips, which can ruin hours of work. Consistent pressure and movement coordination across the surface produce even, lasting engravings.
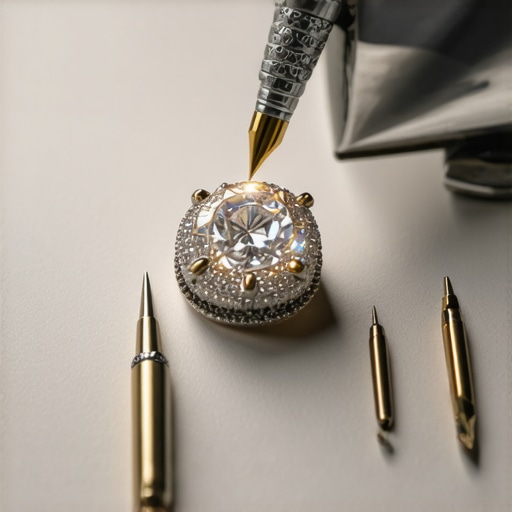
Incorporate Fine Detailing After the Main Cut
Once the main deep cut is established, refine details with finer bits or slower movement. I found that finishing with a smaller burr for highlights made my designs pop, adding both depth and clarity. Think of this as adding the final brushstrokes to a masterpiece—precision here enhances durability and appearance.
Evaluate, Clean, and Seal the Engraving
Inspect your work under magnification for smooth, even lines. Clean the surface to remove debris, then consider applying a protective sealant or patina to boost durability and visual appeal. When I sealed my first deep-cut design, it significantly reduced wear over time, reinforcing the importance of finishing touches in micro-engraving.
By following these concrete steps—meticulous tool setup, thorough planning, controlled technique, consistent handling, detailed finishing, and proper sealing—you can elevate your deep-cut micro-engraving skills. Remember, mastery comes with practice, patience, and attention to detail, much like building trust through precise craftsmanship. Keep refining your approach, and your engravings will stand the test of time, enhancing both the beauty and value of your jewelry.
Many professionals operate under common assumptions that can undermine the integrity and value of their work. In the realm of jewelry appraisal and repair, for instance, there’s a widespread myth that a quick fix or superficial assessment suffices. However, in my experience, the true mastery lies in understanding the subtle nuances that often go unnoticed by even seasoned craftspeople. One key misconception is believing that all gemstones react the same to repairs or re-polishing. The truth is, each stone has distinct properties, and applying a generic approach can cause more harm than good. For example, softer stones like opals or pearls require a gentle touch during restringing or cleaning—failing which, you risk permanent damage. Recognizing these subtleties enables you to deliver exceptional results that boost client trust and preserve the jewelry’s value.
Another trap to avoid is over-relying on standardized techniques without considering the unique history or craftsmanship behind the piece. A vintage ring with intricate filigree, for example, demands careful handling to maintain its original charm during repairs. Ignoring these details not only risks damaging delicate elements but also diminishes the perceived authenticity of your work. For experts aiming to refine their skill set, embracing these nuances can significantly differentiate your service, fostering long-term trust.
Why Do Some Repairs Fail to Last Even When Done Professionally?
In my experience, a common pitfall is neglecting the environmental and wear factors that a piece will face over time. For instance, improper choice of solder or outdated repair techniques can lead to weakened joints or tarnishing within months. Studies show that repair longevity depends heavily on matching materials and techniques to the jewelry’s usage context. This insight underscores why continuous learning and customizing approaches are essential for restoration professionals who aim for lasting quality. Involving clients in understanding these nuances also increases their confidence and satisfaction.
Similarly, when it comes to appraisals, overlooking subtle signs of wear or alterations can lead to undervaluation. For example, a minor scratch might seem insignificant but could indicate previous repairs that impact the piece’s integrity. Expert appraisers look beyond superficial assessments, examining these details carefully.
Crucially, avoiding these common pitfalls entails more than technical prowess—it requires an investigative mindset that values every detail, no matter how small. If you’re eager to elevate your craft, I recommend exploring advanced appraisal techniques and repair strategies that focus on these hidden aspects. Doing so will ensure your work not only looks exquisite but endures the test of time. Have you ever fallen into this trap? Let me know in the comments.
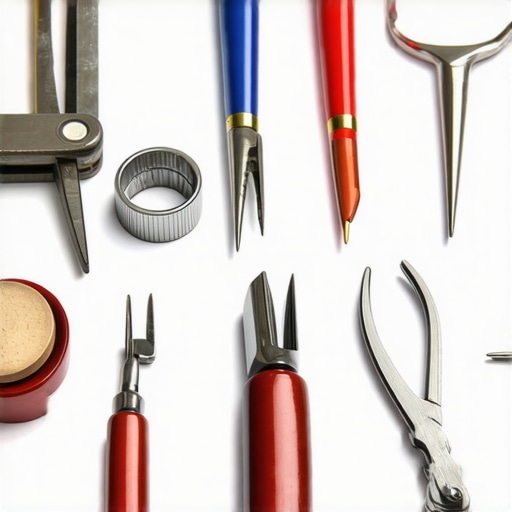
Maintaining the quality and functionality of your engraving, appraisal, and jewelry repair tools is essential for delivering consistently exceptional results. My personal go-to toolkit includes a high-precision rotary tool like the Foredom SR Series, which I prefer over cheaper alternatives due to its durability and smooth variable speed control. The key advantage is the ability to fine-tune RPM settings, allowing for meticulous control during deep-cut engraving or delicate repairs. Additionally, investing in a quality diamond bur set—such as those from Bur-Well—ensures clean, precise cuts that resist dulling and chipping over time.
For software solutions, I rely on specialized CAD programs like Gemvision Matrix for designing complex jewelry and engraving patterns. These tools help visualize the final outcome, reducing errors and rework. Regular updates and backups are crucial; I allocate time each week for software maintenance to prevent glitches that could compromise project timelines.
How do I maintain my tools over time?
Regular cleaning and sharpening are vital. After each session, I disassemble my rotary tools, remove debris, and inspect for wear. Using a fine diamond sharpening stone keeps my burs in optimal condition. Lubricating moving parts with appropriate machine oil prevents rust and ensures smooth operation. For example, I follow detailed maintenance routines outlined by the ultimate guide to engraving to extend tool lifespan and sustain precision.
Storage plays a pivotal role—keeping tools in a climate-controlled cabinet prevents corrosion, while organizing them in dedicated compartments reduces accidental damage. As my experience grew, I learned that routine checks of key components—like belts, bearings, and collets—help spot issues early before they affect your work quality. Implementing a preventive maintenance schedule ensures that my tools perform reliably, minimizing downtime and costly replacements.
Looking ahead, I believe that automation and smarter diagnostics will further revolutionize equipment care. Predictive maintenance, driven by IoT sensors, could soon alert craftsmen to potential failures before they happen, saving time and increasing trust with clients. In the meantime, adopting meticulous maintenance routines remains your best strategy for lasting results. Start by scheduling weekly inspections and implement detailed cleaning protocols—your future self and clients will thank you.
Incorporate these practices into your toolkit routine and test one advanced maintenance tip—such as calibrating your rotary tool with a digital tachometer—to immediately improve accuracy and longevity. For more insights on professional-grade maintenance strategies, explore resources like transforming your jewelry trust today. Staying proactive in tool care not only enhances your craft but helps solidify a reputation for quality and reliability in every piece you produce.

Looking back, one of the most profound lessons I learned in jewelry craftsmanship was the importance of embracing patience and precision over speed and shortcuts. The allure of quick results can often tempt us into shallow engraving techniques, but I discovered that truly lasting and intricate designs require a willingness to invest time into mastering deep-cut styles. My biggest breakthrough was realizing that depth equals durability—once I adjusted my approach, my work not only looked more refined but also withstood the test of time and wear.
Lessons from the Trenches of Micro-Engraving
- Steady Hands Trump Fast Movements: Rushing through deep carving compromises precision. Slowing down and maintaining controlled pressure yields cleaner, deeper lines that don’t fade easily over years of wear.
- Tools Are Your Best Allies or Worst Enemies: Investing in sharp, well-maintained burs and adjustable rotary tools saves you from frustrating chipping and uneven cuts. Regular maintenance and calibration become part of the craft, not optional extras.
- Don’t Overlook Surface Preparation: Properly securing the jewelry piece and practicing on scrap materials have saved me countless hours repairing mistakes or correcting uneven engravings. Preparation saves frustration later.
Recommended Resources That Elevated My Craft
- The ultimate guide to engraving—a comprehensive resource that deepened my technical understanding and introduced me to advanced techniques, transforming my approach.
- Building trust through precise craftsmanship—tips on how meticulous detail and durable techniques enhance client confidence and satisfaction.
- Expert engraving services—a source of inspiration for elevating the quality and permanence of my designs.
- Signs your silk knotting is failing—remembering the importance of structural integrity extends beyond engraving; it’s about the entire jewelry piece.
Embrace the Journey — Your Best Work Awaits
The future of micro-engraving is bright, but mastery demands dedication. Every piece you engrave deepening your understanding and honing your control brings you closer to jewelry that endures for generations. Don’t shy away from challenges; instead, view each as an opportunity to refine your skills and build lasting trust with your clients. Keep practicing, stay curious, and let your craftsmanship tell stories that stand the test of time.
What’s the most valuable lesson you’ve learned about deep-cut micro-engraving? Share your experiences below, and let’s grow together in this art of enduring craftsmanship.

Reading through this post really resonated with my own experience in micro-engraving. Early on, I underestimated the importance of tool maintenance and proper control, often rushing through intricate designs. Since adopting more deliberate techniques—keeping my burs sharp, practicing on scrap pieces first, and adjusting my tool speeds—I’ve noticed a significant improvement in the durability of my engravings. It’s fascinating how much the depth and control impact the longevity of the design, especially under daily wear. I agree with the emphasis on patience and preparation; rushing always seems to lead to mistakes that are tough to fix later. I’d love to hear how others manage their tool calibration routines—do you have specific habits or checklists that keep your tools in top condition? For me, regular cleaning and using a tachometer for calibration have been game changers.