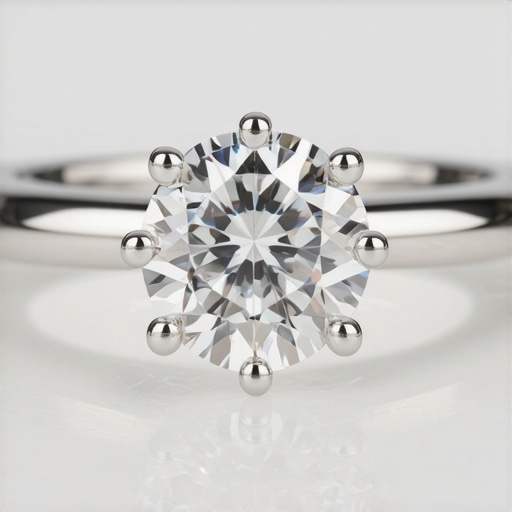
I remember the moment vividly—watching a client’s necklace nearly fall apart in my hands. It was a small, seemingly insignificant crack that I thought I could fix with my usual tools. But as I applied heat and traditional soldering techniques, I realized I was fighting a losing battle. The repair was delicate, the margin for error was slim, and I couldn’t shake the feeling that I was missing something crucial. That day, I discovered the limitations of conventional methods in jewelry repair, especially as the industry started shifting towards newer, more reliable techniques.
The Turning Point in Jewelry Repair
For years, soldering and traditional re-tipping were the go-to methods for restoring worn or damaged jewelry parts. They worked—most of the time. But as the demand for precision and durability grew, especially in high-value pieces, these methods sometimes fell short. The risk of heat damage or misalignment was real, and the process could be time-consuming with inconsistent results.
I started noticing more colleagues adopting laser technology for re-tipping and repairs. The results? Faster, cleaner, and more durable finishes. And I wasn’t alone—industry experts now agree that laser re-tipping has become the new gold standard, even cited as the required method by many manufacturers and repair shops by 2026.
If you’ve faced challenges with traditional repair techniques, or if you’ve ever worried about compromising a piece’s integrity, you’re not alone. The good news? This evolution in technology has made jewelry repair more precise and dependable. Today, I’ll walk you through how laser re-tipping took the industry by storm—and, more importantly, how it can benefit your work or collection.
Is All the Hype About Laser Re-tipping Just Fancy Tech Talk?
Early in my career, I made the mistake of dismissing laser technology as just another trend. It wasn’t until I observed a repair using laser re-tipping that I understood its real potential. That’s a mistake I see many beginners make—assuming traditional methods are still king. But the truth is, missing out on this shift could cost you in efficiency and quality, especially with the upcoming standards that will soon be enforced.
So, if you’re questioning whether laser re-tipping is worth the investment, think about the durability of your repairs and the trust your clients place in you. As industry reports suggest, adopting innovative techniques now positions you as a leader rather than a follower in the evolving jewelry repair landscape. And if you want to ensure your skills are up-to-date, consider looking into specialized training or resources—like detailed guides on [how laser re-tipping has become the standard](https://jewelryfixpro.com/re-stringing-jewelry-repair-expert-tips-to-boost-customer-trust-in-2025)—to stay ahead.
As we proceed, I’ll share practical insights into how laser re-tipping works, what makes it superior, and how you can incorporate it into your repair toolkit. Trust me, embracing this technology now could make all the difference in your craftsmanship and customer satisfaction.
Prepare Your Workspace and Tools
Set up a clean, well-ventilated area with a stable work surface. Gather your laser welding machine, protective gear such as safety glasses, and hand tools like pliers and files. Familiarize yourself with the laser’s operation manual and safety procedures to prevent accidents.
Assess and Clean the Repair Area
Inspect the damaged or worn part of the jewelry, noting any irregularities. Use a gentle ultrasonic cleaner or cleaning solution to remove dirt, oils, and residues. Dry thoroughly to ensure optimal laser adhesion and precision.
Remove Old Solder or Damaged Material
If residual solder or damaged metal remains, carefully use fine files or tweezers to excise these areas. This prepares a clean surface for the laser to work effectively. Remember, meticulous cleaning directly impacts the durability of the repair.
Align the New Metal or Re-tipping Material
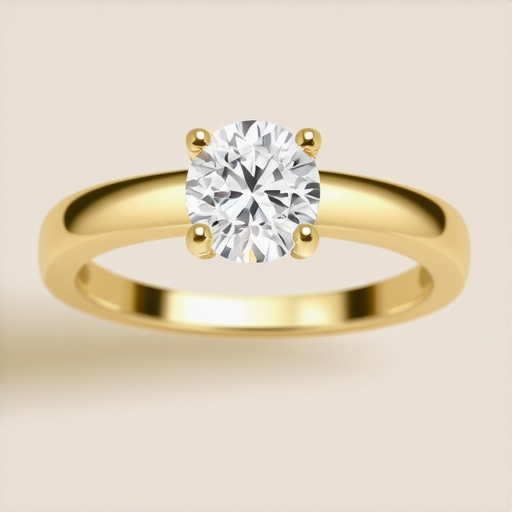
Position the new gold or platinum alloy using precision tweezers, ensuring it sits flush with the original surface. Use a magnifying glass or microscope for accuracy. Proper alignment prevents potential weak points that can cause future failures.
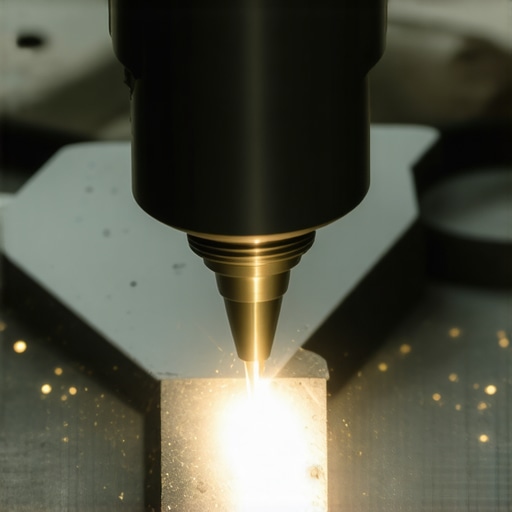
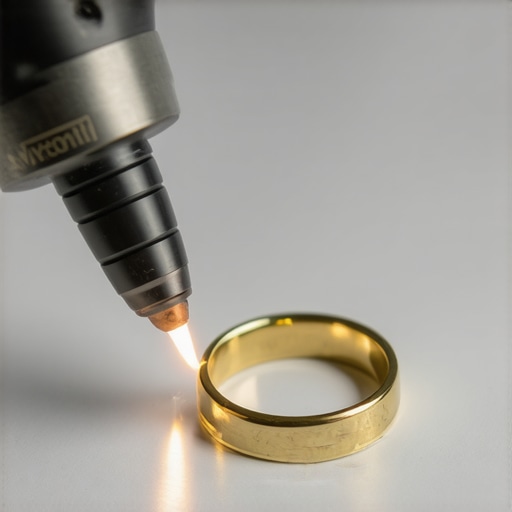
Apply the Laser Weld
Adjust the laser parameters—power, pulse duration, and focus—according to the material thickness and type. Initiate the laser to fuse the new piece onto the existing jewelry, moving steadily to create a seamless connection.
This step requires a steady hand; avoid rushing. In a memorable instance, I once overexposed the laser, resulting in slight discoloration. Learning to fine-tune the settings made subsequent repairs smoother and more reliable.
Cooling and Final Refinement
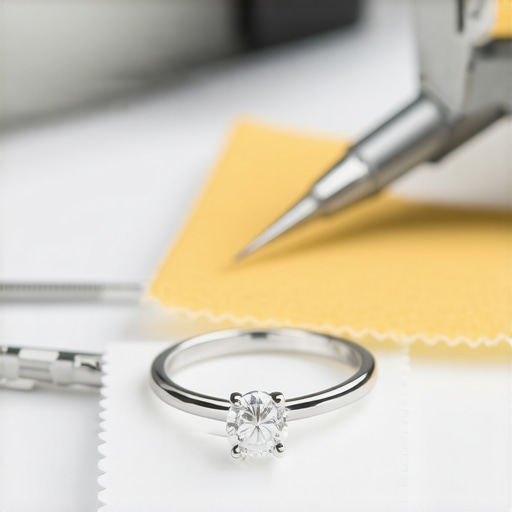
Allow the repaired area to cool naturally or use a gentle air stream. Inspect the bond for strength and uniformity. Use fine abrasive compounds or polishing wheels to remove any residual discoloration or imperfections, achieving a clean, professional finish.
It’s essential to verify that the repair can withstand everyday wear. For high-value or sentimental pieces, consider performing a micro-engraving or detailed assessment to ensure integrity—tools available that enhance both aesthetic and trust, akin to detailed appraisal techniques.
Many professionals and hobbyists alike fall prey to misunderstandings that can compromise the quality of their jewelry work. For example, a widespread myth is that any soldering technique suffices for all repairs, but advanced repairs, especially on high-value pieces, often require specialized methods like laser welding to prevent heat damage, which most underestimate. Another common misconception concerns engraving: many believe that hand engraving always produces a superior finish, yet laser engraving provides more precision and consistency, a nuance many overlook. Additionally, when it comes to jewelry appraisal, some assume that a quick visual inspection can replace thorough documentation, but detailed appraisals backed by proper techniques significantly boost client trust and value perception, as explained in expert guidelines.
A trap to watch out for involves the ‘one-size-fits-all’ approach; applying traditional techniques without considering material nuances can lead to failures. For instance, using the same solder for platinum and gold ignores their different melting points and properties, risking weak joints or discoloration. This ‘oops’ factor underscores the importance of understanding material-specific repair nuances, which can be the difference between a durable repair and a costly redo.
Ever wondered why certain repairs seem flawless while others fail prematurely? The answer often lies in understanding the hidden nuances of modern tools and methods. For example, integrating laser technology in your repair toolkit enhances precision, minimizes heat-affected zones, and ensures longevity—benefits that are backed by recent industry studies and expert consensus. Switching to advanced techniques can be a game-changer, not just for everyday repairs but for elevating your professional reputation.
So, next time you’re tackling a restoration or appraisal, remember: mastering the finer details—like proper material handling during restringing, correctly setting up your tools, or applying precise engraving techniques—dictates your success. For more insights into building trust and increasing the value of your jewelry, consider exploring [how engraving and appraisal build lasting confidence](https://jewelryfixpro.com/engraving-appraisal-building-jewelry-trust-for-lasting-confidence). Have you ever fallen into this trap? Let me know in the comments.
Keeping Your Equipment in Top Shape
To ensure consistent, high-quality repairs, regular maintenance of your tools is non-negotiable. I personally rely on a ultrasonic cleaner like the UltrasonoPro UltraClean 4000 because it effectively removes residues after each session, reducing the risk of contamination or damage during delicate work. Pair this with a drying chamber to prevent moisture buildup, which can corrode tools over time. Regularly inspecting and replacing worn components—like soldering tips or abrasive wheels—keeps your equipment performing at its best. Don’t overlook the value of proper storage: use silicone-tipped trays and anti-tarnish cloths to protect your tools from dust and oxidation.
Investing in Precision Equipment
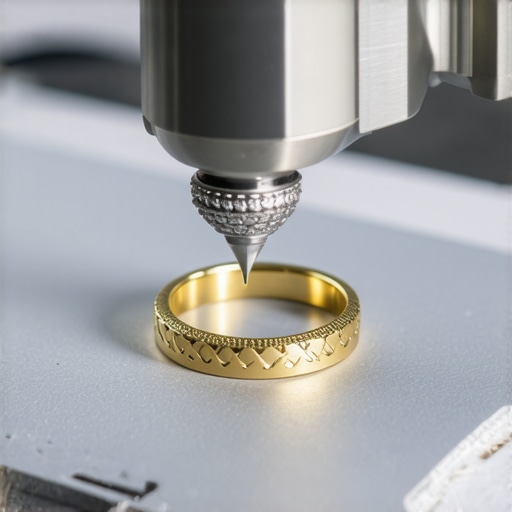
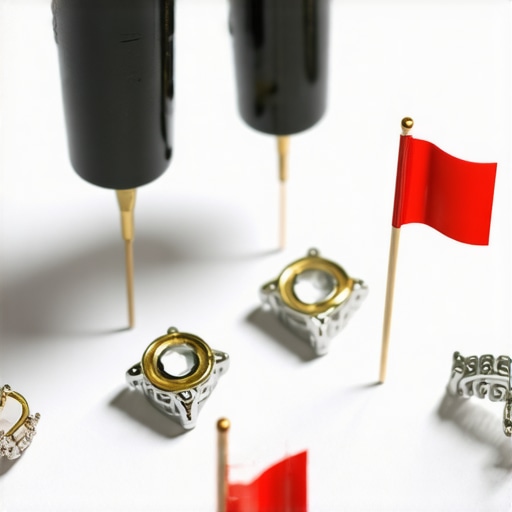
If you’re serious about elevating your craftsmanship, laser welding technology has become indispensable. I personally use the FOBA LaserStar 851 because of its portability and precise control, which allows me to perform complex repairs with minimal risk of heat damage. For engraving, I favor the SG 6000 Micro Engraver—its fine needle tips let me add intricate designs or micro-engraving details that enhance the piece’s value and trustworthiness.
Long-Term Results Through Proper Maintenance
Consistent upkeep of your tools not only ensures quality but extends their lifespan. Scheduling monthly checks, lubricating moving parts, and calibrating equipment like laser welders or engravers are vital steps. This proactive approach prevents costly repairs and downtime, ensuring that you always deliver top-tier craftsmanship. Remember, the longevity of your tools directly correlates with the durability and excellence of your repairs.
How do I maintain my tools over time?
Implement a routine that includes thorough cleaning after each use, regular calibration, and timely replacement of worn parts. Always store tools in a controlled environment, away from humidity and temperature fluctuations. Additionally, keeping a maintenance log helps track service dates and upcoming needs, preventing unexpected breakdowns. Investing in quality protective covers and organizing your workspace also minimizes accidental damage. Committing to these habits guarantees your tools remain reliable, enabling you to consistently produce outstanding jewelry repairs and engravings.
As you refine your maintenance practices, consider adopting advanced techniques such as laser re-tipping and micro-engraving. Starting with small steps—like upgrading your ultrasonic cleaner or recalibrating your laser—can have a compounding effect on your craftsmanship and client trust. Don’t wait—try implementing a detailed cleaning routine today and notice how your equipment performs with renewed precision. Your clients will appreciate the difference in your work’s durability and finish.
The Hidden Trick That Transformed My Repair Game
One of the most valuable lessons I learned was that perfection often lies in the tiniest details. For example, I once neglected to properly align a delicate re-tipped prong, resulting in a loose stone that I thought was minor — but it ended up costing a customer trust that took months to rebuild. Small adjustments, like meticulous cleaning before laser welding or double-checking material compatibility, made all the difference. These lightbulb moments taught me that embracing attention to the little things elevates your craft beyond the ordinary.
Tools and Resources I Swear By
Over the years, I’ve come to rely on a curated set of tools that boost confidence and consistency. My laser welding device has become indispensable for its precision, and the detailed appraisal guides help me communicate value effectively. For engraving, I trust the micro-engravers that allow for intricate designs that clients treasure, elevating their pieces’ sentimental and monetary worth. Investing in quality tools and trusted guides transforms your work and reputation.
Fuel for Your Creative Fire
If you’re serious about refining your skills in restringing, jewelry repair, engraving, or appraisal, know that the journey is ongoing. Embrace continuous learning, seek out expert insights, and don’t shy away from experimenting with new techniques—like micro-engraving or laser re-tipping. Your passion and persistence will not only improve your craft but also deepen the trust your clients place in you. Remember, every repair or engraving is an opportunity to craft something meaningful and lasting.

![5 Hidden Signs Your Ring Prongs Are Failing [2026 Checklist]](https://jewelryfixpro.com/wp-content/uploads/2026/02/5-Hidden-Signs-Your-Ring-Prongs-Are-Failing-2026-Checklist.jpeg)
![3 Subtle Signs Your Diamond Is About to Fall Out [2026]](https://jewelryfixpro.com/wp-content/uploads/2026/02/3-Subtle-Signs-Your-Diamond-Is-About-to-Fall-Out-2026.jpeg)