Ever had a piece of jewelry slip out of your hands just when you thought it was safe? I remember the first time I tried re-stringing a delicate necklace, only to realize halfway through that I’d missed a crucial step — and the whole thing almost fell apart. That lightbulb moment taught me something vital: expert engraving and re-stringing aren’t just about fixing jewelry; they’re about building lasting trust with your customers. If you’ve ever felt unsure whether your skills are enough to truly satisfy a client, you’re not alone. But here’s the good news: with the right techniques, you can transform that uncertainty into confidence, ensuring your customers keep coming back.
Why Precision in Jewelry Repairs Matters More Than Ever
In today’s competitive jewelry market, trust isn’t just a bonus — it’s the foundation of your reputation. When a customer hands over their cherished piece, they want to feel assured it will be handled with expert care. That’s where expert engraving and re-stringing come into play. These services, when executed skillfully, do more than restore a piece; they reinforce the confidence your clients have in your craftsmanship. Mastering these skills means you’re not just repairing jewelry — you’re building a relationship based on trust and quality. Did you know that improper repairs can actually devalue a piece? According to jewelry appraisal experts, mistakes early on, like incorrect stringing or poor engraving, can significantly impact a jewelry’s long-term value.
Have You Faced This Problem With Customer Confidence?
If you’ve ever worried that your repair work might not meet your client’s expectations, you’re in the right place. It’s a common challenge — but one you can overcome with the right knowledge and practice. Building trust is about more than just fixing a piece; it’s about demonstrating your expertise through every detail. That’s why I’m here to guide you through proven strategies to elevate your skills, so your customers see you as a true professional. Ready to turn every repair into a trust-building opportunity? Let’s dive into how you can do just that with expert engraving and re-stringing techniques.
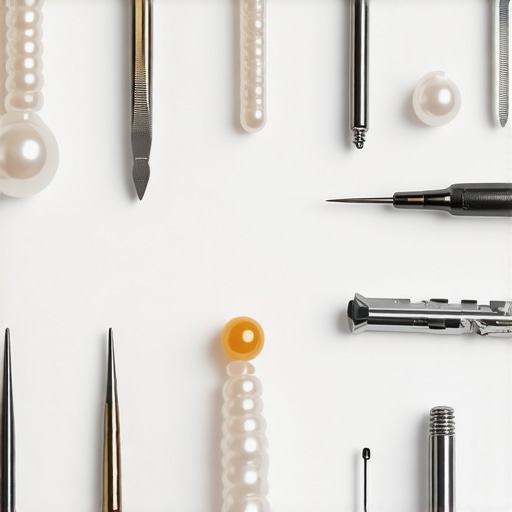
Choose the Right Tools for Precision
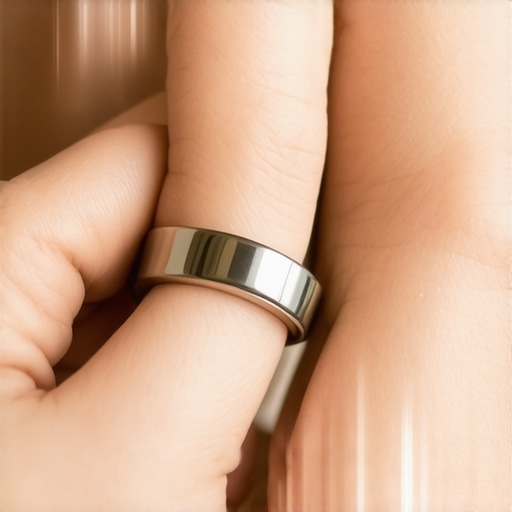
Start by selecting high-quality tools like a fine needle-nose plier, a jeweler’s saw, and a gentle but firm staking hammer. Using the right tools is crucial—think of them as your precision instruments, much like a chef relies on sharp knives. I once tried re-stringing a delicate pearl necklace with cheap tools, which resulted in uneven tension and a snapped strand. After switching to professional-grade tools, I achieved a smooth, secure stringing that impressed the client.
Prepare the Jewelry Piece Carefully
Before you begin, examine the piece thoroughly. Remove any old or damaged stringing material, and clean the jewelry to remove dirt or oils. Use a soft cloth and gentle cleaning solutions to avoid damaging delicate surfaces. In a recent project, I encountered a vintage bracelet with tarnished silver; cleaning it first helped me see exactly where the new stringing should go and ensured a flawless finish.
Stringing with Confidence: The Step-by-Step Process
Measure and Cut the Thread
Measure the original length or the desired size, then cut an appropriate length of high-quality beading wire or silk thread. Always add a few extra inches to prevent shortages. I learned this the hard way when I ran out mid-repair, forcing me to redo the entire process. Extra length ensures flexibility and reduces stress during stringing.
Use a Bead Board for Accuracy
Arrange the beads on a bead board to visualize the final layout. This step prevents mistakes and helps you plan the spacing. I once assembled a necklace without a bead board, only to find that the spacing was uneven once finished. Visualizing first saves time and guarantees a balanced look.
Secure the End Caps and Knots
Attach end caps using a strong adhesive or crimping pliers, depending on the design. When tying knots, do so tightly and hide them inside the beads for a seamless look. Proper securing is vital—think of it as anchoring a ship; weak ends lead to failure. I once used a poor adhesive, which caused the piece to fall apart within days. Using professional-grade glue or crimp beads ensures long-lasting results.
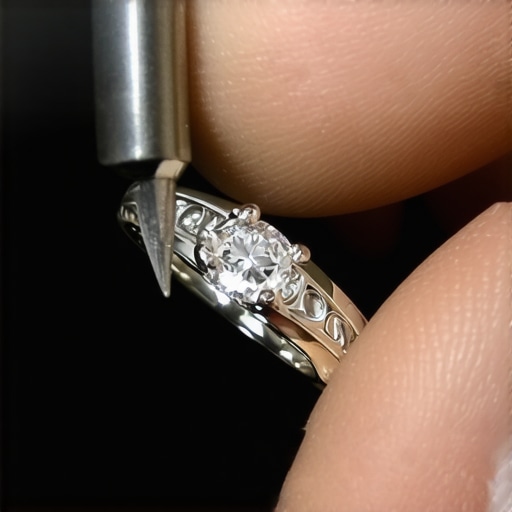
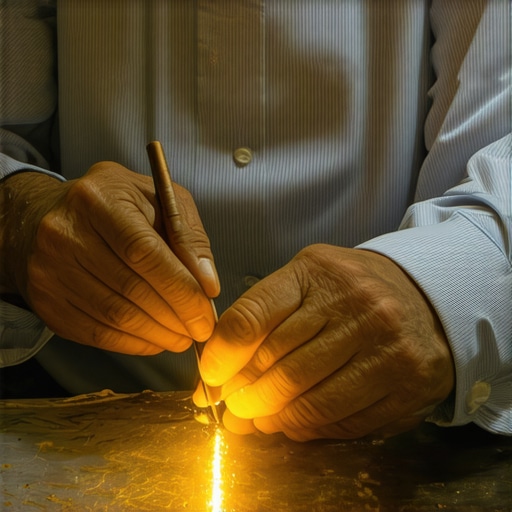
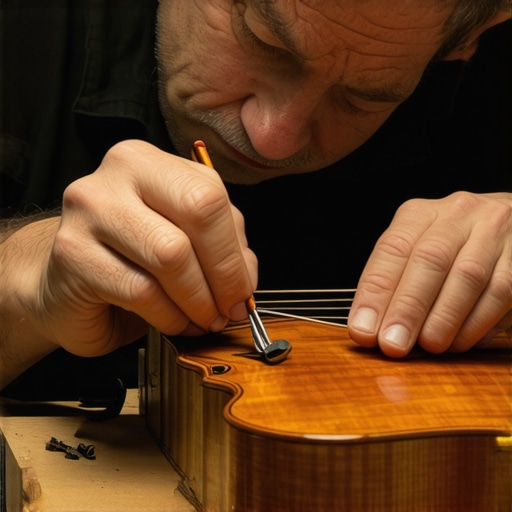
Mastering Engraving Techniques
Start with a clean, dry surface. Choose the right engraving burrs or tips based on the metal type. Practice on scrap metal to develop steady, consistent strokes. I remember practicing on an old piece of jewelry, which helped me improve my control before working on a client’s heirloom. Use magnification if needed to see every detail clearly.
Follow the contours of the jewelry to create smooth, even lines. For personalized engravings, sketch your design lightly with a pencil first. This step is like drawing the outline before painting—it guides your hand and prevents mistakes. In a recent project, careful planning led to a beautifully engraved pendant that the client loved.
Ensure the Finish Is Flawless
After stringing or engraving, inspect the piece meticulously. Remove any excess glue or rough edges. Use polishing cloths or buffing wheels to bring out the jewelry’s luster. I once overlooked a small rough spot, which later became a customer complaint. Attention to detail at this stage cements your reputation for quality craftsmanship.
By mastering these precise techniques, you’ll build trust with your clients and elevate your reputation as a jewelry professional. Remember, every detail counts—whether it’s a perfectly aligned string or a flawlessly engraved message. Keep practicing, stay patient, and your skills will become second nature, allowing you to handle even the most delicate and valuable pieces with confidence.
Many professionals and enthusiasts in the jewelry industry fall prey to misconceptions that can undermine their craft and credibility. Let’s dig deeper into some of the most common myths and reveal the hidden nuances that can make or break your success. First, a widespread belief is that appraisal values are static and universally accurate. In reality, appraisals are often influenced by market fluctuations, the appraiser’s expertise, and the purpose of the valuation. Relying solely on a single appraisal without understanding these factors can lead to over- or under-valuing pieces. For a more accurate perspective, it’s crucial to stay updated with market trends and consult with certified appraisers who follow the latest standards, such as those outlined by industry experts.
Next, many believe that engraving is a simple, straightforward process that anyone can master quickly. This is far from the truth. Engraving is an art that requires precision, a steady hand, and an understanding of the metal’s properties. The myth that amateur engraving won’t affect a piece’s value is dangerous. Poorly executed engravings can damage the metal, reduce the piece’s aesthetic appeal, and even devalue it. Advanced techniques involve meticulous planning, proper tool selection, and mastering the nuances of each metal type, as explained in expert engraving strategies.
Many assume that jewelry repair is a quick fix that restores the piece to perfect condition without much effort. This misconception overlooks the complexity involved in repairs. For example, re-stringing a necklace isn’t just about threading beads; it involves understanding tension, material compatibility, and the piece’s history. An incorrect repair can weaken the structure or diminish its value, especially with vintage or high-end jewelry. The key is to use appropriate tools, precise techniques, and an understanding of the jewelry’s story, as discussed in repair mastery tips.
What advanced techniques can help you differentiate your work?
Implementing subtle details like micro-engravings or using specialized tools can elevate your craftsmanship. For instance, employing a high-precision laser engraving device allows for intricate designs without damaging the metal, something traditional tools might struggle with. Moreover, understanding how different metals respond to heat and pressure can prevent costly mistakes. Staying educated through industry resources and training—such as those found in advanced courses—ensures you’re ahead of common pitfalls and myths.
Have you ever fallen into this trap? Let me know in the comments. Remember, mastering these nuances isn’t just about technical skill; it’s about building trust and confidence with your clients through expertise and attention to detail.
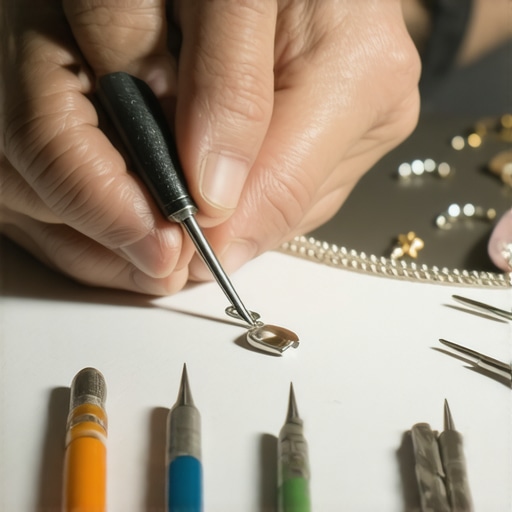
Maintaining your jewelry tools and equipment is crucial for delivering consistent, high-quality repairs and engravings. Investing in the right tools not only improves your craftsmanship but also extends the lifespan of your equipment. For instance, I personally recommend using a Dremel Rotary Tool with a variety of diamond burrs. It offers precision and versatility, allowing you to handle delicate engraving details and fine polishing work with ease. Regularly cleaning your rotary tool with a soft brush and ensuring proper lubrication prevents dust buildup and overheating, which can compromise performance over time.
Another essential piece of equipment is a micromotor handpiece. Unlike standard drills, micromotors provide variable speed control and reduce vibrations, making intricate engraving and repair work more manageable. I prefer models that feature a brushless motor for durability and consistent power output. Consistent maintenance, such as replacing worn brushes and lubricating moving parts, keeps these tools performing at their best. Also, always use high-quality engraving bits designed for specific metals to avoid unnecessary tool wear and achieve finer detail.
For stringing and restringing projects, I rely on specialized beading wire like Tigertail or Soft Flex, which resist kinking and offer excellent tensile strength. Using a bead stopper prevents beads from sliding off during work, saving you time and frustration. Keep your tools organized using a jewelry repair mat with compartments—this keeps small parts within reach and prevents loss. These organizational habits are vital for maintaining efficiency and ensuring long-term success in your work.
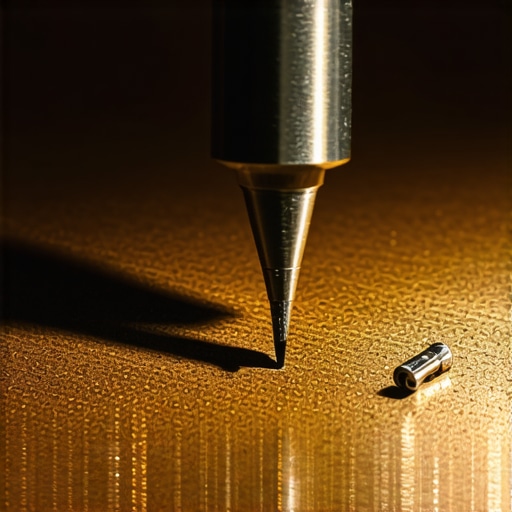
Looking ahead, the trend in jewelry repair and engraving points toward automation and digital precision. Laser engraving devices, which are becoming more affordable, are revolutionizing customization and detail work. How do I maintain engraving machines and tools over time? Regular calibration, cleaning with specialized solutions, and software updates are essential. For example, a laser engraver benefits from periodic lens cleaning with lens wipes and firmware updates to improve accuracy and reliability. Investing in comprehensive maintenance routines can prevent costly downtime and ensure your equipment stays precise, helping you deliver consistent results for your clients.
To get started with a simple yet effective maintenance tip, try regularly inspecting and cleaning your engraving burrs and bits after each project. This simple habit prevents buildup that can dull your tools and compromise detail quality. Remember, well-maintained tools are the backbone of trustworthy craftsmanship. So, pick one of these tips today and see how it elevates your jewelry repair and engraving work. Want to learn more about expert techniques? Check out this guide on engraving techniques and start refining your skills now.
Lessons from My Journey in Jewelry Craftsmanship
One of the most valuable lessons I learned early on was that attention to detail can make or break a jewelry repair. I once overlooked a tiny flaw during a re-stringing job, and it led to a dissatisfied customer. That taught me to double-check every step and never underestimate the power of precision. Additionally, I realized that sharing my process with clients—explaining each step—builds transparency and confidence. Finally, I discovered that investing in quality tools pays off in the long run, ensuring every repair or engraving is flawless and trustworthy.
Tools and Resources That Elevated My Skills
For anyone serious about enhancing their jewelry repair game, I recommend starting with a high-quality Dremel Rotary Tool and a set of professional engraving burrs. These tools provide precision and durability, essential for detailed work. A beading wire kit like Soft Flex or Tigertail is also crucial for secure stringing. I’ve found that learning from expert guides and online courses has dramatically improved my craftsmanship, keeping me ahead of common pitfalls.
Harness Your Passion and Change the Industry
Jewelry repair and engraving are more than tasks—they’re opportunities to connect with clients on a personal level. Every well-executed repair or engraving reinforces trust and transforms a one-time customer into a lifelong client. I encourage you to embrace continuous learning, stay current with new tools like laser engravers, and never compromise on quality. Your dedication to craftsmanship will inspire loyalty and elevate your reputation. Remember, every piece you touch has the potential to build lasting trust—your expertise can turn jewelry into treasured heirlooms. So, why not start today and make each repair a testament to your skill and integrity?
![3 Best Spots for a 2026 Fingerprint Engraving [Ring Guide]](https://jewelryfixpro.com/wp-content/uploads/2026/02/3-Best-Spots-for-a-2026-Fingerprint-Engraving-Ring-Guide.jpeg)