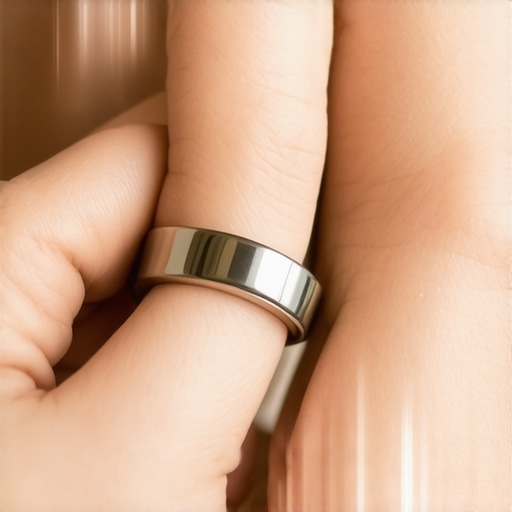
Have you ever worn a piece of jewelry that held sentimental value but looked a bit worn out or less meaningful over the years? I remember the moment I realized my favorite necklace was losing its charm—not because I didn’t love it anymore, but because the string was frayed and the engraving had faded. It was a lightbulb moment for me: jewelry isn’t just about aesthetics; it’s about the stories and memories they carry. Yet, I struggled with what to do next—should I toss it, or could I give it a new life? That’s when I discovered the power of custom engraving and re-stringing as transformative options. Today, I want to share how you can easily transform your jewelry into treasured keepsakes that last, without breaking the bank or losing their sentimental value.
Why Rejuvenating Your Jewelry Matters More Than Ever
Jewelry is often more than just adornment—it’s a reflection of your personality, milestones, and personal style. Over time, even the most cherished pieces can suffer from wear and tear, like frayed strings or faded engravings. But here’s the good news: with a few expert tips, you can breathe new life into them. Re-stringing and engraving are not just repairs—they’re opportunities to customize and elevate your jewelry, making it uniquely yours again. Plus, according to a recent study, custom jewelry pieces tend to hold their sentimental and monetary value better over time (source). This is why investing a little effort now can transform your jewelry into timeless pieces that continue to tell your story.
Have you ever faced the disappointment of a broken or faded piece and wondered if it’s worth fixing?
Many of us have made the mistake early on of overlooking the importance of regular maintenance and professional repairs, thinking it’s just a cosmetic fix. But I learned the hard way that neglecting these small details can lead to bigger issues down the line. Whether it’s a delicate string that needs replacing or an engraving that can be refreshed, these adjustments can significantly boost your confidence in wearing your jewelry daily. Ready to explore how you can master these simple yet impactful upgrades? Let’s dive into the practical steps that will help you restore and personalize your jewelry with lasting confidence.
Choose the Right Materials and Tools
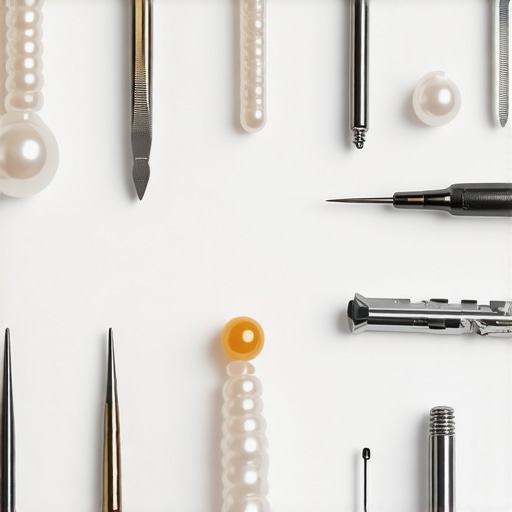
Start by selecting high-quality stringing materials like silk, nylon, or precious metal wires, depending on the jewelry piece. I once attempted to re-string a delicate pearl necklace with a low-quality wire, which led to fraying within weeks. To avoid this, I bought professional-grade stringing wire from a trusted supplier and used a crimping tool to secure the clasps properly. For engraving, invest in a fine engraver or consider professional services to ensure precision. Having the right tools is like having a reliable map—your project will go smoother and look more polished.
Remove and Prepare the Jewelry
Carefully detach the jewelry components from the existing string or clasp. I remember working on a vintage bracelet where the clasp was soldered tightly; using gentle heat and proper pliers prevented damage. Clean the pieces thoroughly with a soft cloth and a mild cleaner to remove dirt and oils, which can interfere with the new stringing or engraving process. Think of this step as preparing a canvas—your work will be cleaner, and the final result more stunning.
Re-stringing with Confidence
Measure and Cut the Stringing Material
Measure the original length or desired size, adding a little extra for knots and adjustments. When I re-stringed a charm bracelet, I cut the wire slightly longer than needed, which gave me room for secure knots. Use a jeweler’s ruler for accuracy, and cut cleanly with wire cutters. Remember, precision here ensures a comfortable fit and a professional look.
Thread the Jewelry Carefully
Begin threading the beads or charms onto the stringing material, keeping them aligned and avoiding twists. I once accidentally twisted the wire, which caused kinks; to fix this, I gently untwisted and re-threaded everything. Use a bead reamer or a thin needle to help thread difficult beads. This process is like threading a needle—patience results in a smooth, even finish.
Secure and Finish
Finish by tying secure knots, using crimp beads or clasps as needed. For a necklace, I used crimp beads to lock the ends, then covered them with crimp covers for a seamless look. Make sure to test the strength by gently tugging—think of it as a handshake, firm but gentle. Proper finishing guarantees durability and confidence in wearing your jewelry daily.
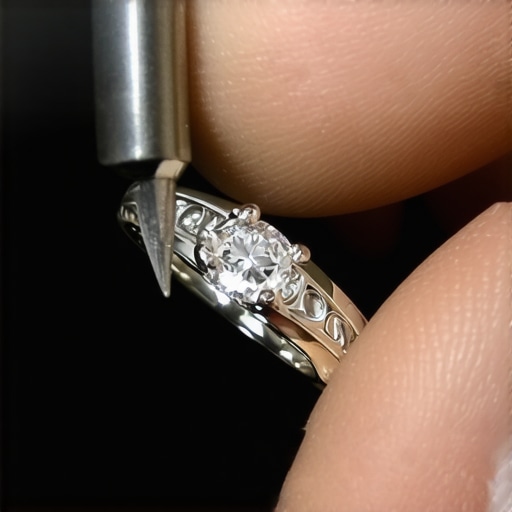
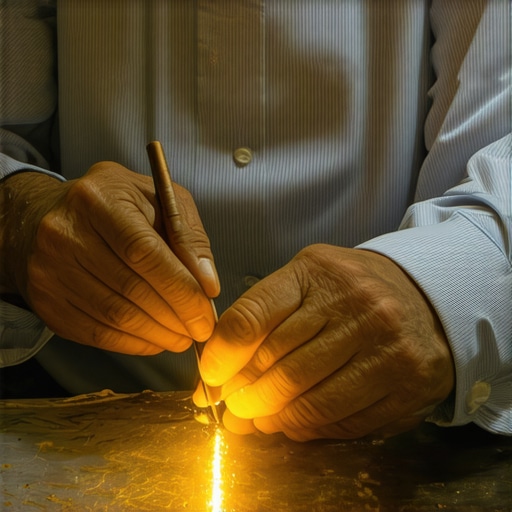
Enhance with Custom Engraving
Personalize your jewelry by adding meaningful engravings. Whether it’s initials, dates, or symbols, engraving transforms a simple piece into a treasured keepsake. I once engraved a pendant with a significant date, which made it a daily reminder of a special moment. You can do this yourself with a fine engraver or seek professional services for intricate designs. For guidance, explore custom engraving options that suit your style and budget.
Final Steps and Tips for Lasting Confidence
Inspect your jewelry carefully—check the strength of knots, the security of clasps, and the clarity of engravings. I once overlooked a loose knot, which nearly came undone during wear; re-tightening it saved the piece. Regular maintenance, like gentle cleaning and careful storage, prolongs the life of your jewelry. Remember, like a trusted friend, your jewelry deserves attention and care to continue telling your story with confidence.
Many jewelry enthusiasts and even seasoned DIYers fall into traps when attempting to repair or re-string their cherished pieces. While the basics might seem straightforward, the real pitfalls often lie in overlooked nuances that can compromise the entire project. Let’s dig deeper into what most people get wrong about jewelry repair and how understanding these advanced details can save you time, money, and sentimental value.
Why the Myth of DIY Perfection Can Hurt Your Jewelry
One of the most pervasive misconceptions is that DIY jewelry repairs are simple and foolproof. Many believe that with a few tutorials, they can restore their pieces flawlessly. However, this mindset often leads to common mistakes like using the wrong materials, over-tightening knots, or damaging delicate components. For instance, choosing low-quality stringing materials might seem economical initially but can result in fraying or breakage within weeks. Experts recommend selecting high-quality materials like silk or precious metal wires to ensure durability. Remember, as highlighted in this resource, investing in the right supplies is crucial for lasting results.
The Hidden Trap of Over-Engraving
Another common mistake involves over-engraving or poorly executed customizations. While engravings add sentimental value, overdoing it or choosing the wrong font can diminish the piece’s elegance. Moreover, inexperienced engravers might cause micro-cracks or weaken the metal, leading to future damage. Advanced practitioners advise consulting professionals or using specialized tools for precision. A subtle, well-executed engraving can elevate your jewelry, but a rushed or amateurish attempt might do more harm than good. For nuanced insights, check out this guide.
How to Avoid the Biggest Re-stringing Mistake
When re-stringing, many people underestimate the importance of proper knotting techniques. Tying insecure knots or not using crimp beads correctly can lead to sudden failures—sometimes during wear, which can be disastrous. A critical advanced tip is to use the right tension—too tight, and it stresses the string; too loose, and it causes gaps or uneven appearance. Also, avoid over-handling the string, as oils and dirt can weaken the material over time. Properly finishing and testing the strength of your knots, as explained in this resource, is key to ensuring your jewelry lasts for years.
Are You Overlooking the Value of Professional Assistance?
Many believe that minor repairs can be safely handled at home, but this often leads to overlooked nuances that professionals are trained to manage. For example, some repairs require precise soldering or cleaning techniques that, if done improperly, can weaken the structure or cause discoloration. Investing in expert services, especially for valuable or vintage pieces, can preserve both aesthetic and monetary value. Understanding the subtle differences between DIY and professional repair can make a significant difference in your jewelry’s longevity and trustworthiness. For more detailed strategies, explore this comprehensive guide.
Have you ever fallen into this trap? Let me know in the comments. Recognizing these nuances can transform your approach from careless repairs to confident craftsmanship, ensuring your jewelry remains as meaningful as the day you first wore it.
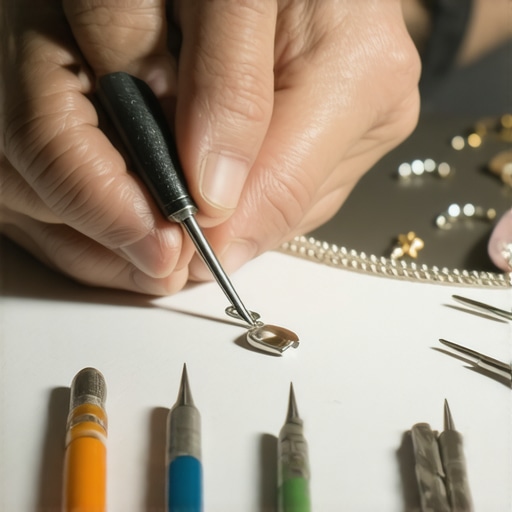
Maintaining the quality and longevity of your jewelry repairs is crucial for ensuring that your pieces stay beautiful and trustworthy over time. Having the right tools and understanding precise methods can make all the difference in achieving professional results at home or in a workshop. When I first started re-stringing and engraving jewelry, I quickly learned that investing in high-quality equipment was a game changer. Today, I want to share the exact tools I recommend and why they are essential for keeping your jewelry in top shape.
Precision Tools That Make a Difference
For re-stringing delicate necklaces or bracelets, a pair of high-quality wire cutters is non-negotiable. I prefer jeweler’s wire cutters with fine, sharp blades because they provide clean cuts without crushing the wire. This ensures your stringing material maintains integrity and prevents fraying. For added control, a pair of flat-nose pliers helps with crimping and securing clasps. I personally choose smooth-jaw pliers to avoid scratching or damaging metal surfaces, especially when working with vintage or plated jewelry.
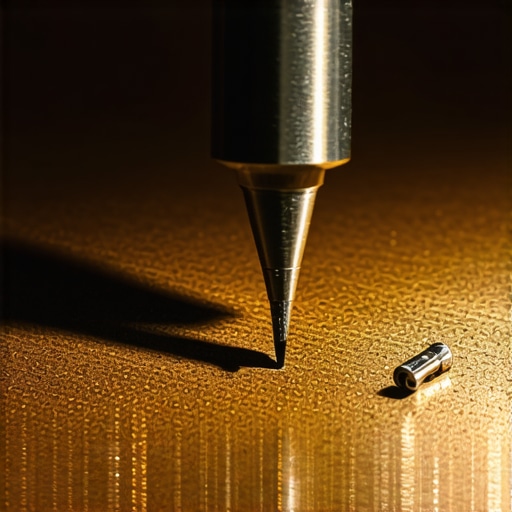
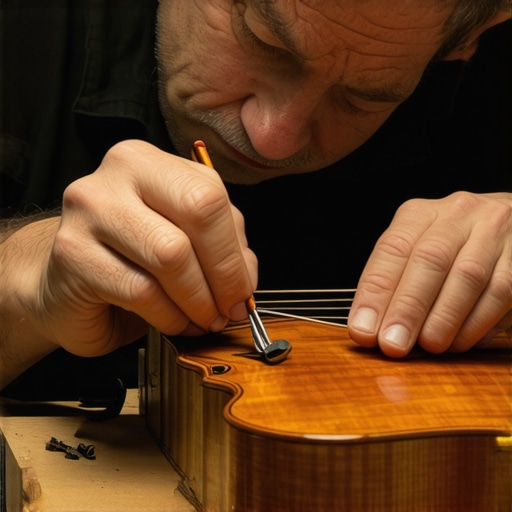
When it comes to engraving, I rely on a professional-grade engraver with adjustable speed and precision. The digital engraver I use allows me to add detailed initials or symbols without risking micro-cracks, which are common pitfalls with amateur tools. Investing in a good engraver not only improves accuracy but also minimizes damage to the jewelry, preserving its value and appearance.
Using Quality Materials for Long-Term Results
Choosing the right stringing material is just as important as the tools you use. I personally prefer professional-grade silk or nylon threads for their strength and flexibility. These materials resist fraying and maintain their appearance over years of wear. For metal wiring, I opt for 49-strand beading wire, which offers durability and a natural drape. When securing clasps, I recommend crimp beads that are slightly larger and made of sterling silver—these hold better and complement the jewelry aesthetically.
Additionally, a reliable magnifying glass or jeweler’s loupe is invaluable for inspecting knots and engravings. I use a 10x magnifier to ensure every detail is perfect before finalizing a piece. Proper inspection helps catch issues early, saving you time and preventing costly repairs down the line.
Future Trends in Jewelry Maintenance
Looking ahead, I believe the integration of digital tools, such as 3D scanning and engraving software, will revolutionize jewelry maintenance. These technologies will allow us to create more precise repairs and customizations, extending the lifespan of our treasured pieces even further. As these innovations become more accessible, DIY enthusiasts and professionals alike will benefit from enhanced accuracy and efficiency.
How do I maintain my jewelry over time?
Regular cleaning and careful storage are essential for preserving your repairs. Use gentle cleaning solutions and soft cloths to keep surfaces pristine. Store jewelry in separate compartments or pouches to prevent scratches and tangling. Periodic inspections of knots, clasps, and engravings help identify wear early, allowing you to address small issues before they become major problems. Remember, consistent maintenance is key to ensuring your jewelry continues to tell your story confidently for decades.
Now that you know which tools to invest in and how to use them properly, I encourage you to try one of these advanced techniques—perhaps upgrading your engraving tools or switching to higher-quality stringing materials. Small improvements can lead to significant long-term benefits, helping your jewelry stay beautiful and trustworthy for years to come.
The Hardest Lesson I Learned About Jewelry Restoration
One of the most eye-opening lessons I discovered was that rushing through repairs can cause irreversible damage. Early on, I tried to re-string a delicate bracelet without proper tools, which led to fraying and breakage within days. Now I know patience and the right techniques are essential to maintain the integrity of your jewelry, especially sentimental pieces.
What Experts Won’t Tell You About Custom Engraving
Many don’t realize that poorly executed engraving can weaken the metal and diminish your jewelry’s value. I once attempted a DIY engraving that resulted in tiny cracks, which I only noticed after a few wears. Investing in professional services or using quality engraving tools ensures your piece remains durable and beautiful for years to come. Check out this guide for expert tips.
The Biggest Re-stringing Mistake I Fixed
Using the wrong tension when re-stringing can lead to uneven wear and early fraying. I learned to measure carefully, adding a little extra for secure knots, and testing the strength before wearing. Proper tension is what makes your jewelry look professional and last longer. For detailed techniques, see this resource.
How I Transformed My Jewelry Confidence with Tools
Choosing the right tools, like sharp wire cutters and professional-grade engravers, transformed my repair process. High-quality materials and precise instruments made the difference between amateurish fixes and professional results. I now trust my repairs and feel confident wearing my pieces every day. For my favorite tools, visit this page.
![3 Best Spots for a 2026 Fingerprint Engraving [Ring Guide]](https://jewelryfixpro.com/wp-content/uploads/2026/02/3-Best-Spots-for-a-2026-Fingerprint-Engraving-Ring-Guide.jpeg)